In my previous post for rice pudding, I promised to explain how to use your leftover vanilla beans…here ya go!
♡
Homemade Vanilla Sugar:
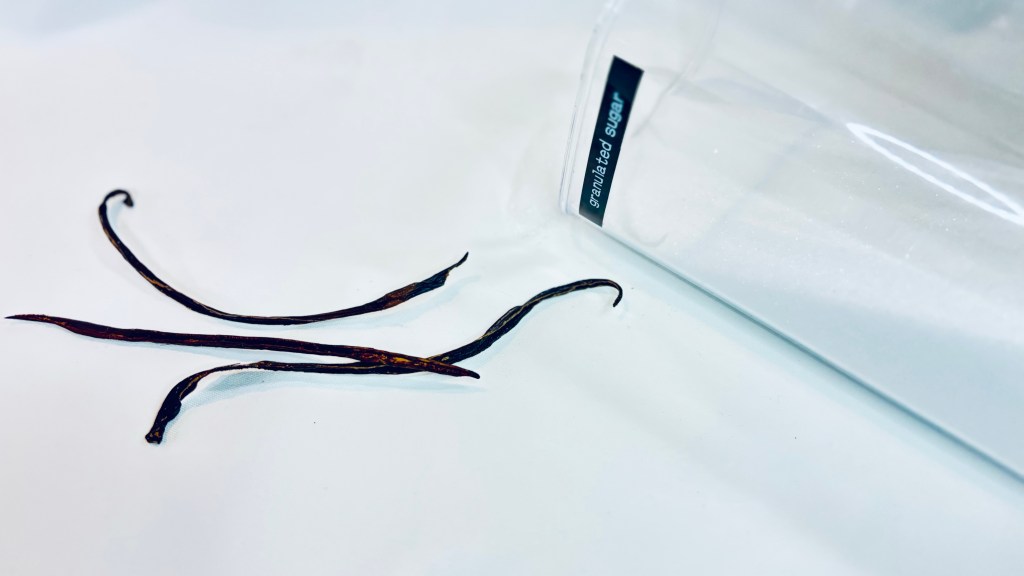
- 1 whole vanilla bean (new) or 2 clean, lightly used vanilla beans
- 400 grams (2 cups) granulated white sugar

1 (a). If you have a new vanilla bean, cut it lengthwise, scrape out its bean guts, and plop them into your 400 grams (2 cups) of sugar. Also throw in the pods, because they are brimming with scent & flavor!
…alternatively…
1 (b). This is a great way to use up any leftover pods you may have after making a recipe which calls for vanilla bean. As a side note: if I don’t need to use two vanilla beans in one go, I slip the used halves back into the airtight pouch they came in—they should be relatively easy to distinguish from new ones—and they won’t lose any flavor until you have as many as you need for this recipe!
As I said above, even after you’ve scraped their guts out, the pods have a deliciously dreamy aroma & are still packed with flavor…why throw that away??
If you are using leftover vanilla beans, you don’t need to do anything…just stick ’em in the 400 grams sugar. However, we’re going to want to use the equivalent of two whole beans, so if you’ve already split them for use in another recipe, that means four halves. Got it?
2. Okay. Put everything into an airtight container with a lid.
3. Wait about one month. I like to occasionally shake the container whenever the thought occurs to me—usually when I see it sitting there, while I’m lost in thought, having forgotten why I opened the cupboard door to begin with—but it isn’t necessary. You might also want to put a piece of tape on the container with the date written on it, though you can leave the beans in the sugar for as long as you like, and no one can stop you.
That’s all you have to do! Bam です.
The color usually changes to a creamier hue, and the aroma is really heavenly. Now you can use this sugar in any baked goods where you think vanilla would be a nice accent—I especially love it in cut~out cookies or lightly salted shortbread—and you can also use it in your tea or coffee!
4. If you have a food processor, you can also grind up the vanilla beans which were infusing the sugar. After sitting in there for so long, you may notice that they’re quite brittle now. You can either throw them away at this point, or leave them behind in the sugar container, not only adding decorative touch—btw in a cute jar, this makes a nice gift, but you have to remember to do it about a month before the occasion!—but also reminding you that there’s vanilla in that sugar.
However, you could get an even creamier, more French vanilla~esque color and more little specks of vanilla bean throughout the sugar—specks which you probably won’t have a lot of to begin with if you used the leftover vanilla beans in Option B—by grinding the bajeezus out of ’em.
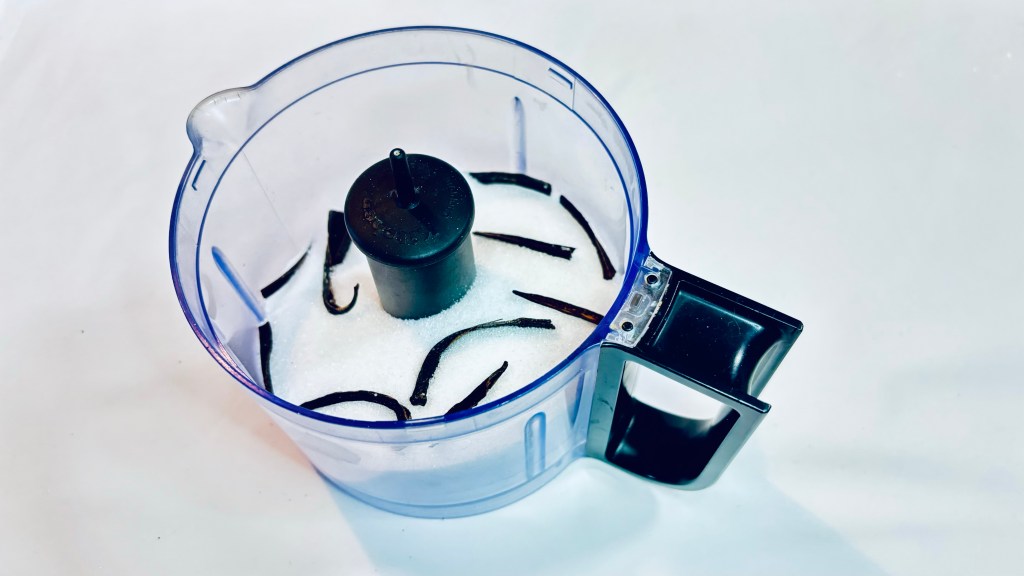
Pour roughly half of the sugar into a food processor, and snap the vanilla beans into smaller pieces. Pulse the food processor many many times, breaking up the vanilla beans in the process, but not grinding so much that you accidentally create powdered sugar.
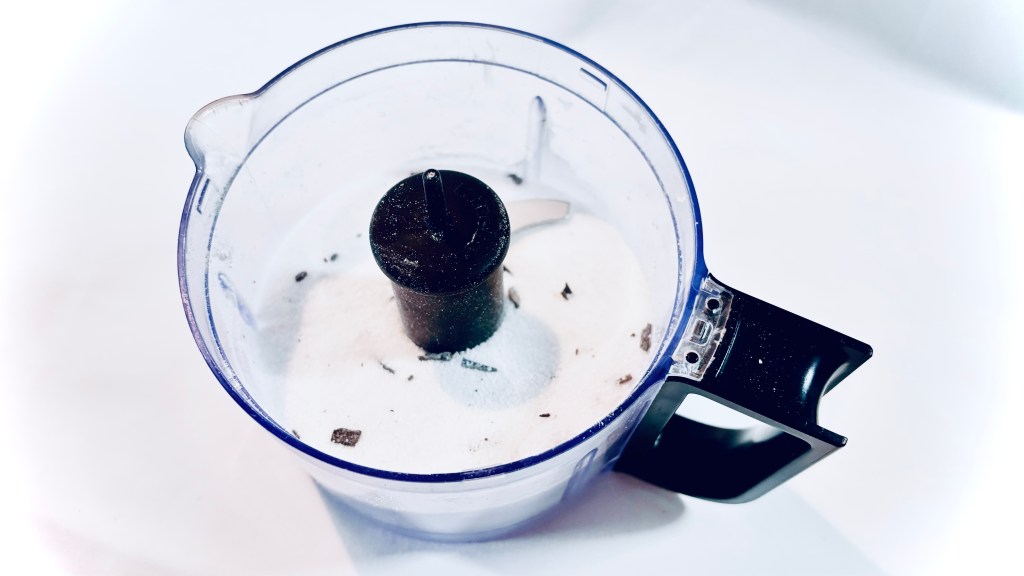
5. It’s unlikely that you’ll be able to completely pulverize the beany bits, so in order to avoid picking them out of your teeth later, I recommend sifting the sugar (either now or whenever you use it), then discarding the little hard bits of vanilla bean left behind. Double bam です!!
I hope this recipe is helpful to you, and you enjoy the results of your lengthy labor. Let me know in the comments below if you have any questions…or let me know if you made the recipe and how it turned out!
Thanks for reading!
See you next time! ♡


Leave a reply to Creamy Rice Pudding – my tokyo kitchen Cancel reply