When I was a wee Scout, a family friend taught me this recipe…but I’ve never known why he called it Canadian, or if I’ve simply been repeating an eggcorn for years!
❤︎
In my opinion, some of the best French Toast doesn’t need to be very fancy. Don’t get me wrong: I have half a dozen different recipes for French Toast—and even more tweaks and variations and spins I like to put on those recipes when I’m feeling creative—but I don’t think I’ll ever tire of the first French Toast I learned to make as a wee kidlet:
CANADIAN FRENCH TOAST!
TOPPING:
- 50 grams brown sugar
- 1 tsp. cinnamon
TOAST & CUSTARD BASE:
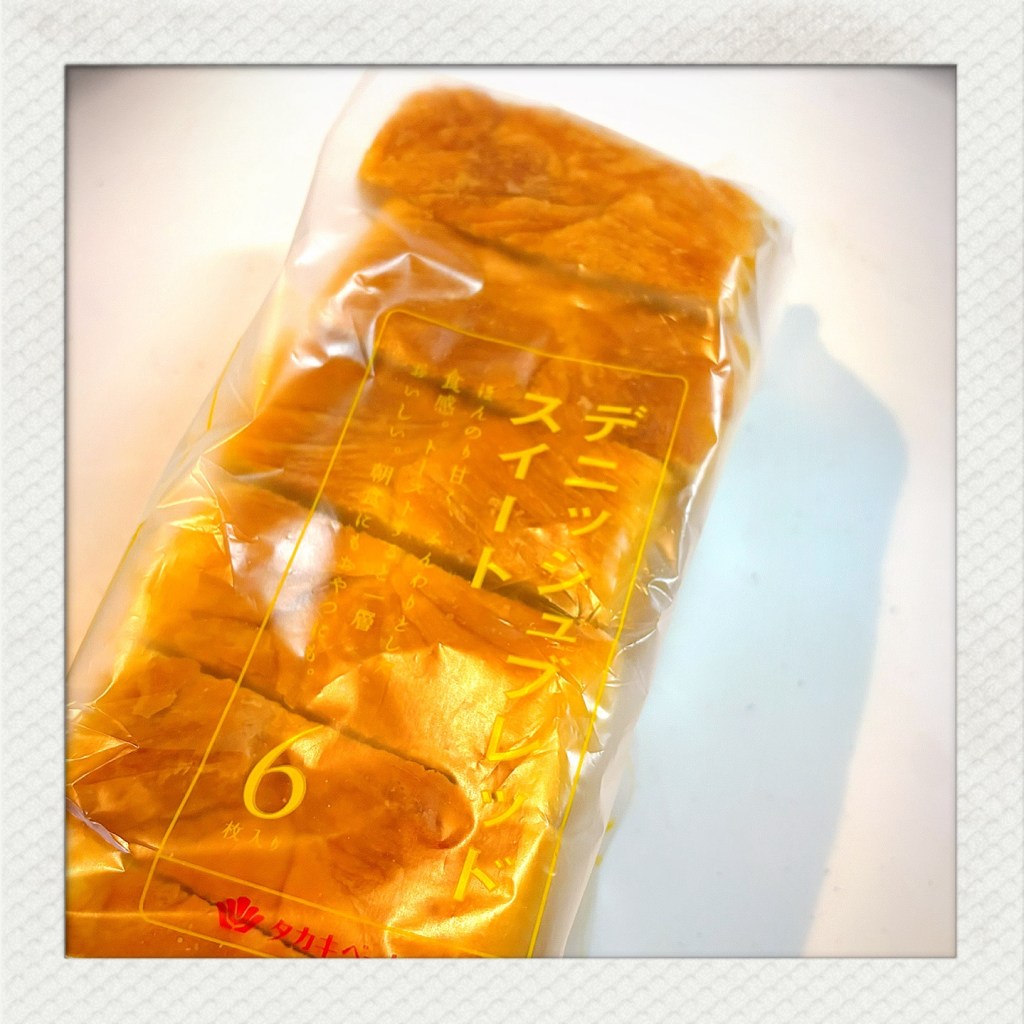
- 6 slices of thick bread
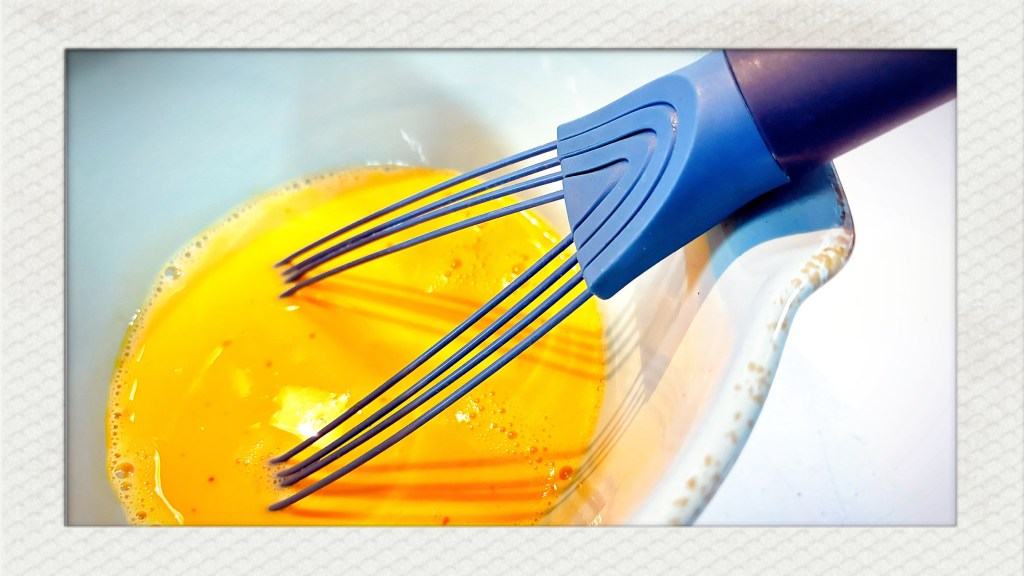
- 2 medium eggs (~100 grams)
- 150 ml. milk
- pinch of salt
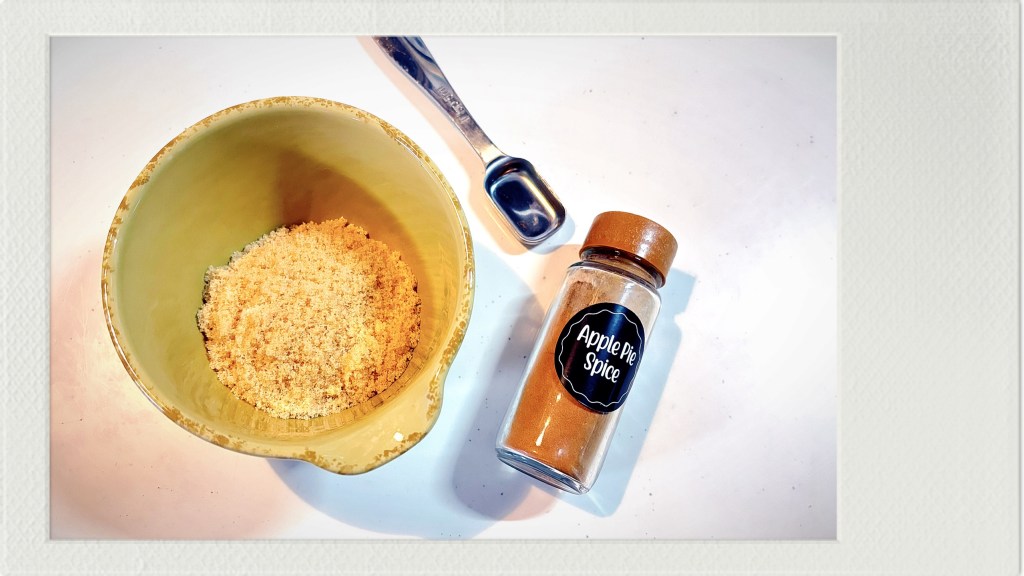
1. Start by making your topping: in a small bowl, mix together the 50 g. brown sugar and the 1 tsp. cinnamon. Set aside.
2. In a larger, deeper bowl—which can accommodate the width of your bread slices—beat the 2 medium eggs, then add the 150 ml. of milk and the pinch of salt. Mix well.
The kind of bread you use is up to you, but it should ideally be fairly thick. The tradition in my house when making this recipe has always been to use day-old, chewy San Francisco sourdough, which is really a treat! Sadly, there’s no wild lactobacillus sanfranciscensis for me to lasso in my apartment, so I either use thick slices of フランスパン (French bread!) or any other dense bread which will stand up to being soaked in what is essentially a custard base.
3. Turn on any griddle or flat pan you like to cook pancakes or the like in. I prefer to use my nonstick crèpe pan for this recipe—as it’s going to get sticky—but you do you. If cast iron is your thing, don’t let me stop you…but I’m also going to trust that you know how to cook in your own pans better than I do, and leave it at that.
Anyhoo, we want a medium high heat.
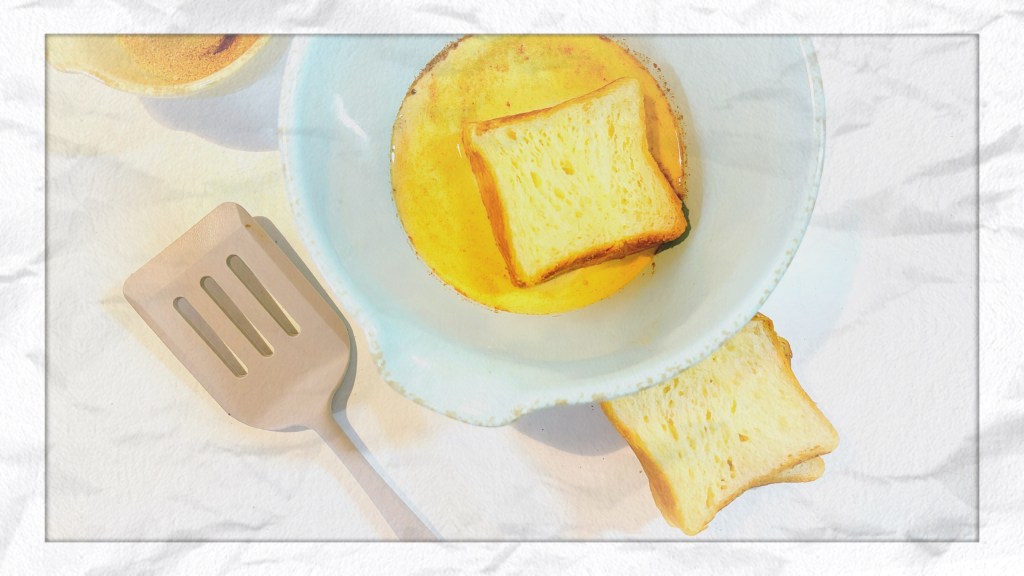
4. Soak your first slice of bread in the egg & milk base for about a minute on each side. I like to put one slice into the custard base while another is cooking, leaving it bobbing around in its eggy bath the whole time, and occasionally turning it over and over…just remember that the longer you soak the bread, the softer and squidgier it will be; but a shorter time in the egg~milk mixture will keep it more bready inside. It’s up to you.
Either way, when you’re happy with your life choices, plop a bit of butter into the pan (just a teaspoon or so is fine), pick up the bread slice from the bowl, allow any excess liquid to drip off, and place one side down in the hot, buttery pan.
5. If you can fit more than one slice in your pan, go crazy, but don’t crowd things, and keep enough space to fit a spatula in between slices. In my case, I can fit two pieces in the pan which I use, and that works fine for me…I can keep an eye on everything, and thanks to the soaking time required for individual slices, each piece of Canadian French Toast comes out of the pan in a slightly staggered finish. This way, it goes fairly quickly, and I like that.
(I also strategically soak two slices of bread in the custard mixture while I’m cooking by soaking one to my satisfaction, and then resting it atop another one while it’s that second one’s turn to soak.)
6. While the first side is cooking, take a spoonful of the brown sugar / cinnamon mixture, and sprinkle it on top of the uncooked side of toast, and then spread it to the edges. Ideally, while the first side is busy browning, the liquid from the opposite side will make the sugar nice and moist, causing it to stick to the bread when it comes time to flip. Ideally.
7. Feel free to peek in on the doneness of your dessertfast by sliding a spatula underneath it, lifting a bit, and taking a cheeky gander. We only want to flip these bad boys one time, so don’t flip the bread until it’s become a nice golden brown color underneath, okay?
Okay?? Okay! Flip the bread, landing sugar-side-down, turn down the heat just a bit, and continue cooking.

8. When the sugary side of the Canadian French Toast is nicely browned and crispety~crunchety, take it out of the pan and serve it sugary side up. If your slices are large, you can cut them in half before serving. In my case, I find three halves to be an ideal portion, but we’re not eating Canadian French Toast for our health, so do as you please!
9. Wipe out the pan with a paper towel or a napkin between batches (otherwise, bits of sugar topping tend to build up and then burn), and finish cooking the rest of the Canadian French Toast (no, I will not stop; you stop!) in the same manner. If you have any brown sugar / cinnamon mix left over, you can sprinkle it on top of the finished product, too!
I like my Canadian French Toast with melty butter and just a touch of deep, dark maple syrup (okay, now that’s Canadian!), but this recipe could also be served with whipped cream and fresh fruit; dusted simply with some powdered sugar; dolloped with a jam or compote (I like boysenberry!); or any way that you usually like French Toast. However, it’s quite sweet on its own, so I don’t think it needs a lot more sweetness added to it. Just don’t forget to wave a wee Canadian flag!

Bonus Round! Did you notice that this recipe for Canadian French Toast doesn’t have any sugar inside of the egg mixture? Because we have our sugar caramelized on one side of the bread, we don’t need anymore sugar…but…but!…because the custard base is just plain eggs and milk, you can wipe out the pan once more when you’ve finished cooking all of your bread, and make a mini batch of scrambled eggs to go with (one portion of) your Canadian French Toast! Isn’t that a nice how-do-you-do?
Let me know in the comments below if you made this recipe, and how it turned out. Also feel free to ask any questions or point out any mistakes I made while typing this recipe all hopped up on sugar bread & dark maple syrup. Especially let me know if you have any idea why some guy named Dave from Long Beach called this French Toast “Canadian”!
❤︎


Leave a reply to dandelionwine (leslie) Cancel reply