- 100 grams unsalted butter, melted
- 200 grams brown sugar
- 2 eggs (the average Japanese size egg is about the size of American “medium” to “large” eggs)
- 1 tsp. vanilla extract
- 100 grams whole wheat flour
- 25 grams cocoa powder
- 1/2 tsp. salt
- 1/2 tsp. baking powder
- 1/2 tsp. instant coffee
- 100 grams chocolate chips or chopped chocolate of yr choice (optional~ish)
- 50 grams roasted pecans, chopped (optional)
I used to make this recipe quite often when I lived in the States, and I basically stopped telling people that I had used whole wheat flour instead of white flour, as it really is difficult to discern the difference…and a good lot of people who are told that you used whole wheat flour before tasting the brownies will insist they can taste the difference*. Pffft!

However, once I moved to Japan, I found that almost none of the recipes I relied upon in another country would work here. Some of the problem was obviously due to the constraints of both small kitchens and even smaller, finicky countertop ovens, but some of it is the actual difference between core ingredients, such as flour and eggs, as well.
After quite a bit of experimentation, I have (mostly) settled upon a recipe that works in my circumstances…however, I had to adapt it again slightly when my old oven broke down and I needed to get a new one. To be honest, most bakers have a feel for their ovens, at home and at work, too. They know if an oven runs hot or cold, or which rack to use for different things—something that has to be learned individually over time, rather than taught with generalizations—so while I suggest that you always follow a recipe as exactly as you can the first time you make it, only you know your own pans and oven and eyes.
Prep: butter a pan to bake the brownies in, and set it aside. In my case, I used a 20 x 20 cm (8 inches square) glass pan, but you can use a smaller or larger or metal~er pan if that’s what you have…just be aware that a larger pan or a metal pan will bake faster, and a smaller pan will need to cook longer, as the brownie batter is deeper.
Tip: if you have a leftover butter wrapper, it works very well for greasing a pan! If not, use pan spray or a bit of butter on a paper towel to do it.
❤︎

1. We’re going to try creating as few dishes as possible here, so melt the butter in a medium to large-sized bowl that will hold all of the ingredients and fit inside of your microwave. I recommend melting it in thirty-second increments so that the butter isn’t too hot.
This is an important first step if you also live in Japan, and have one of the common oven / microwave combos that I do, because we need to get our micro~zapping out of the way before we can even turn on the oven! Sooo, when you’re happy that the butter is melted, turn on the oven to 170°C or 350°F.
2. Once the butter is melted, add the brown sugar. While standard Japanese brown sugar is quite light in color, it still has more flavor. This recipe will still work if you only have white sugar in your pantry—they weigh about the same~ish—however, it will be missing some of the moisture that comes from brown sugar, which can affect your final results.

3. Stick your finger in the butter / sugar mixture. Really. So long as the butter isn’t more than slightly warm, you can proceed and add the eggs one at a time, stirring well with a silicone spatula or a wooden spoon after each one. If you don’t wait for the butter mixture to cool before adding the eggs, the former may cook the latter, and you’ll end up with Scout’s Less-Than-Favorite Scrambled Egg Brownies. Yuck です.
4. Once the eggs are fully incorporated, add the vanilla and stir until it’s well mixed, too.
5. Dump in all of the dry ingredients one atop the other. Since we’re adding them all at once, and we don’t want to stir too much after doing so, you may need to sift your ingredients if they have clumps or lumps. In that case, sift all of the ingredients on top of the egg mixture first, and then (either way) stir just until combined.
6. Add the chocolate and the nuts, then stir again just until they are mixed through. Yes, the extra chocolate and the nuts are optional—add one! add none! add both!—but these brownies feel kinda dense without some additional texture in them, so I recommend adding the chocolate at the very least.
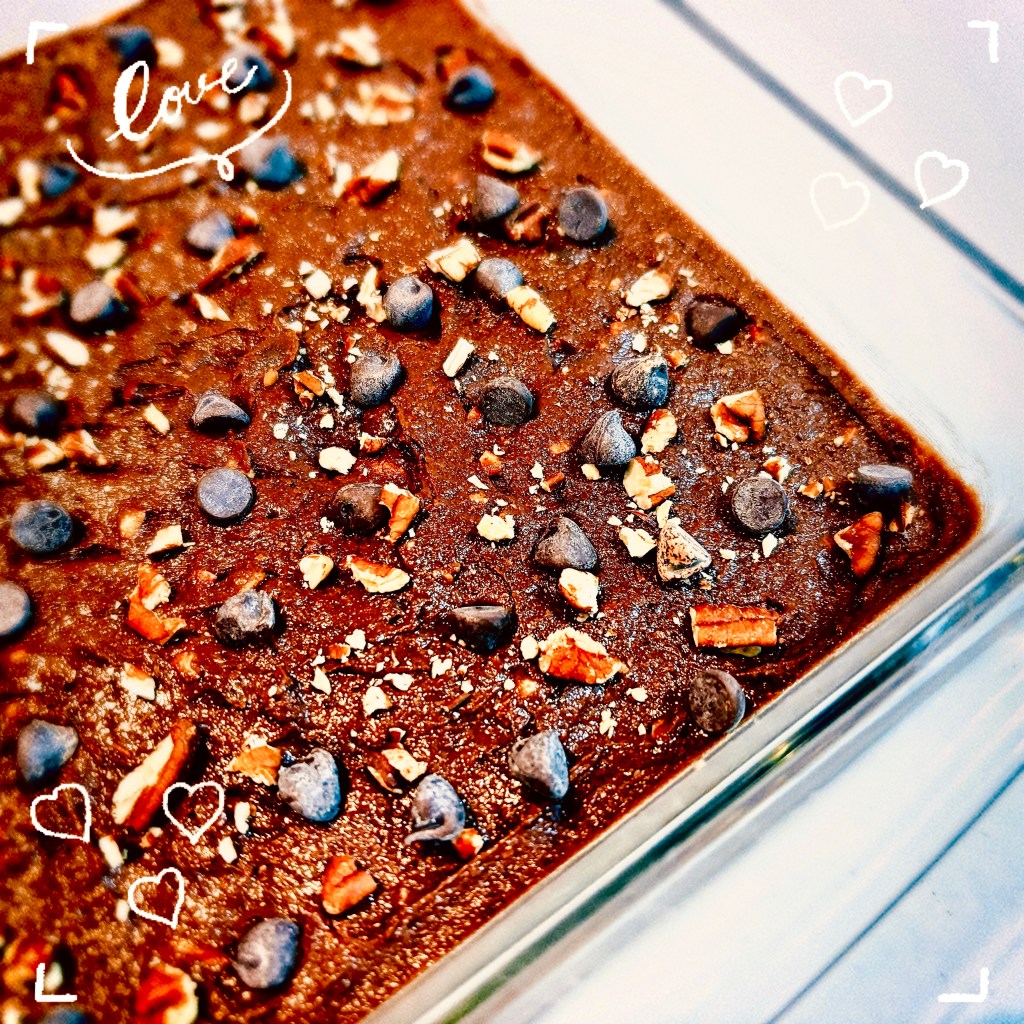
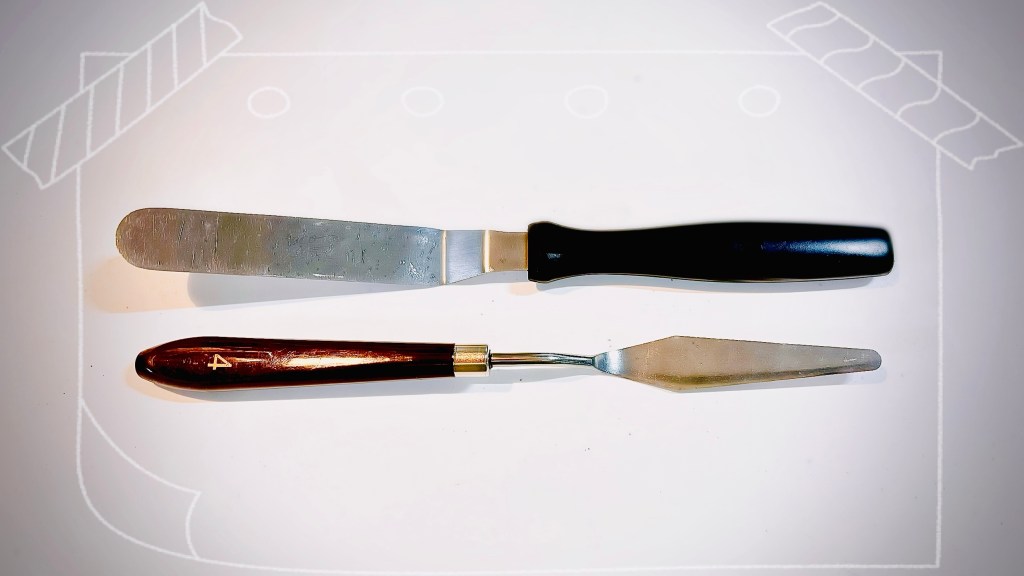
7. Pour the mixture into the pan, and smooth the top as best you can. I use an offset spatula for this (or a clean pallet knife!), but I recognize that not everybody has one, so a clean and slightly damp rubber spatula works well, too.
If you happen to have any extra chocolate or nuts, feel free to sprinkle them on top of the brownie batter for some zhuzh, but it isn’t necessary.
8. Slide the brownies into the oven, and set a timer for ten minutes. Generally, they take about 25 to 40 minutes to cook, depending on your pan choice and your particular oven—that’s quite a window, isn’t it?—but I like to turn the pan every ten minutes for even baking (and to check in on ‘em!) until done. The brownies are finished when the center has puffed up, and a skewer inserted in the center comes out mostly clean…a few crumbs on the skewer are okay, but wet batter is not.
9. When they’re finished cooking, remove the brownies from the oven, set them somewhere to cool, then cover the pan with plastic wrap and leave it overnight before cutting. I often make this recipe the evening before I want to use it, as that allows plenty of time for it to rest. This final step is very important, as the bran in the whole wheat flour needs time to absorb some of the extra moisture in the brownies and become tender.
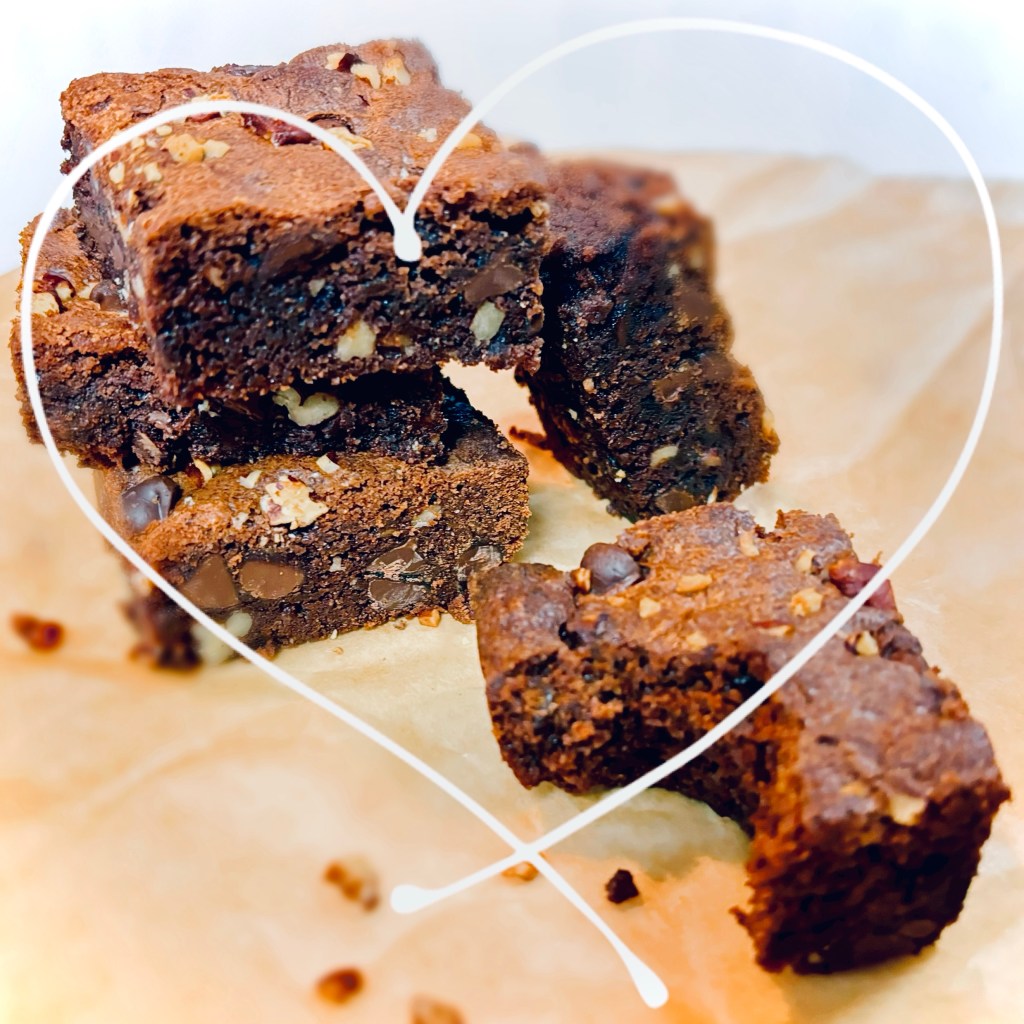
10. Cut the brownies into squares, and enjoy. Or write a blog post about them if you’re a stay-at-home weirdo with nothing to do one whole day. Either way, enjoy!

* To prove my hypothesis, in many instances when friends or coworkers wouldn’t let go of the idea that the brownies were “dry” or “weird” [rolls eyes audibly], I have made the exact same recipe a short time later, and been told that my second batch of “real” brownies was much better. Lols.


Leave a reply to CleverBunny Cancel reply